Customviews
are HTML snippets that are integrated in the content area of the Home tab.
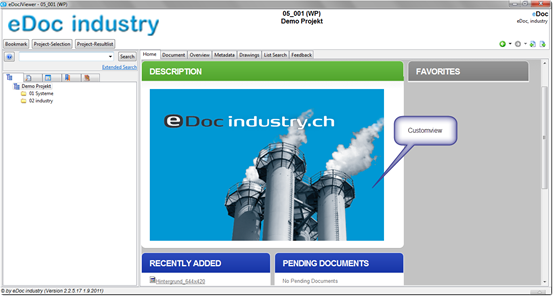
Fig. 19: Creation of
Customviews
Any HTML,
Java Script and CSS can be used. It is also possible to integrate direct links
to folders or documents within the project. It is best to copy links to objects
from the overview page of the target object (right mouse key, copy link). Logos and
images can be imported on the Metadata page of the project. The download link
shown on this page can be used to integrate it in the Customview.
Inserting a Customview Image
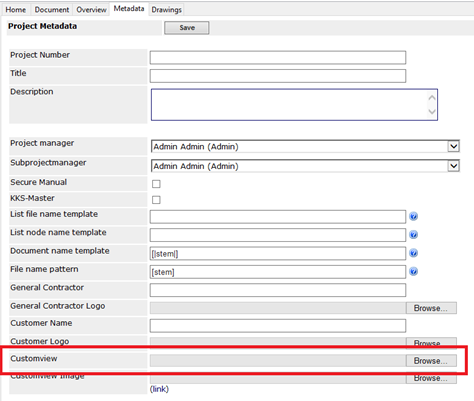
Fig. 20: Inserting a
Customview Image
Example
1.
Select
image
2.
Save
3.
Click Download under image
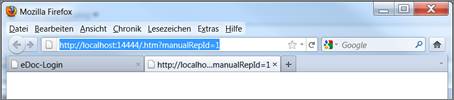
Fig. 21: Copying the
link into the Explorer window
4.
An
Explorer window opens. Copy the link
5.
Open the Windows
Editor and paste the copied text.
http://localhost:14444/.htm?manualRepId=1
6.
Add copied
text
<img src= http://localhost:[port]/.htm?manualRepId=1 />
7. Save the file
with the extension *.htm. For example: image.htm
Generating links for images
<img src=" http://localhost:[port]/.htm?manualRepId=1 " usemap="#kva"
border="0">
<map name="kva">
<area shape="circle"
coords="111,102,35" href="http://localhost:14444/func_loadPageFromNodeId=91556">
<area shape="circle"
coords="449,168,35" href="http://localhost:14444/func_loadPageFromNodeId=91556">
</map>
An external HTML is required to create the HTML
code (e.g. Handy Image Mapper)
Example
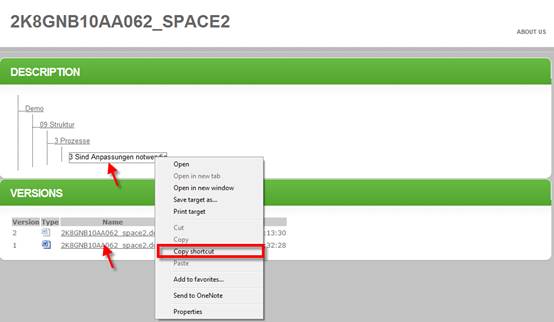
Fig. 22: Creating HTML code
1.
Select the
document or folder
2.
Select the
Overview tab
3.
Right
mouse key, context menu, copy
shortcut (link)
4.
Paste HTML
code link
5.
Proceed as
shown in Example 1